
What inspired you to photograph Bowling Ball Beach in Mendocino’s Pt. Arena?
I was at the Mill Valley Fall Arts Festival in Sept 2010 and met an exhibitor Fred Mertz, a landscape photographer who mainly works in Northern California. We tried to make a plan to shoot together and he mentioned several locations in California, mostly in central and southern California, including Bowling Ball Beach. It turns out that it never worked out for us to shoot together because it was too hard to coordinate but I started to do some research, look at pictures and it was obvious that Bowling Ball Beach was a really unique location. I found out that there is only one other beach in the world that has these spherical rock concretions created by different layers of rock composed of varying densities of matter that eroded at different rates over time. The only other location in the world is in New Zealand.
I had been interested in trying to find a subject that combined the properties of stillness and motion together with time. I had also just gotten some neutral density filters and wanted to experiment with long exposures and thought it would be a really great place to do it.
What was your trip to Pt. Arena like?
I read enough about the place to know that the tide would be tricky. I learned that you don’t want to go at really high tide or really low tide. So I set up a trip to stay at the Pt. Arena lighthouse with my wife and daughter in December 2010.
It was a stormy day when we left Mill Valley and I hoped that that weather would continue so that I could have a cloudy and stormy sky. It’s about a five-and-a-half-hour drive and when we got there at about three o’clock, the tide was already at two to three feet and going out. I later discovered the optimal tides to shoot the rocks are between one foot and three and a half feet, so I got there right before the tide got so low that the base of the rocks started to get exposed, which is what you don’t want. You want a little water to be at the base so you’re not looking at rock on rock.
I had taken a beater tripod that I could put in the salt water, two neutral density filters (eight and six stop), a Singh-Ray variable neutral density filter (goes from two to six stops), and a polarizing filter. As soon as I got there the sky cleared and the sun came up. It was obvious that if I wanted 30-second exposures, then I would have to do something drastic, so I stacked all three of my neutral density filters together (20 stops) which (due to vignetting) limited the focal length of my 16-35 mm wide-angle zoom lens. I could only use focal ranges over 22 mm.
When you put 20 stops in front of your lens then the viewfinder goes completely black. I had limited time and had to work very quickly, so I would compose the image, turn off autofocus, screw the stack of filters on the lens—all while standing in freezing cold water in December. The experience was a little stressful because the surf was not calm and my D700 and lens aren’t cheap. Holding the tripod down so it wouldn’t float away while trying to keep it stable for 30 seconds, I managed to get some good shots that I was happy with even though I was only able to shoot for 45 minutes before the tide went totally out.
What did you learn from this trip?
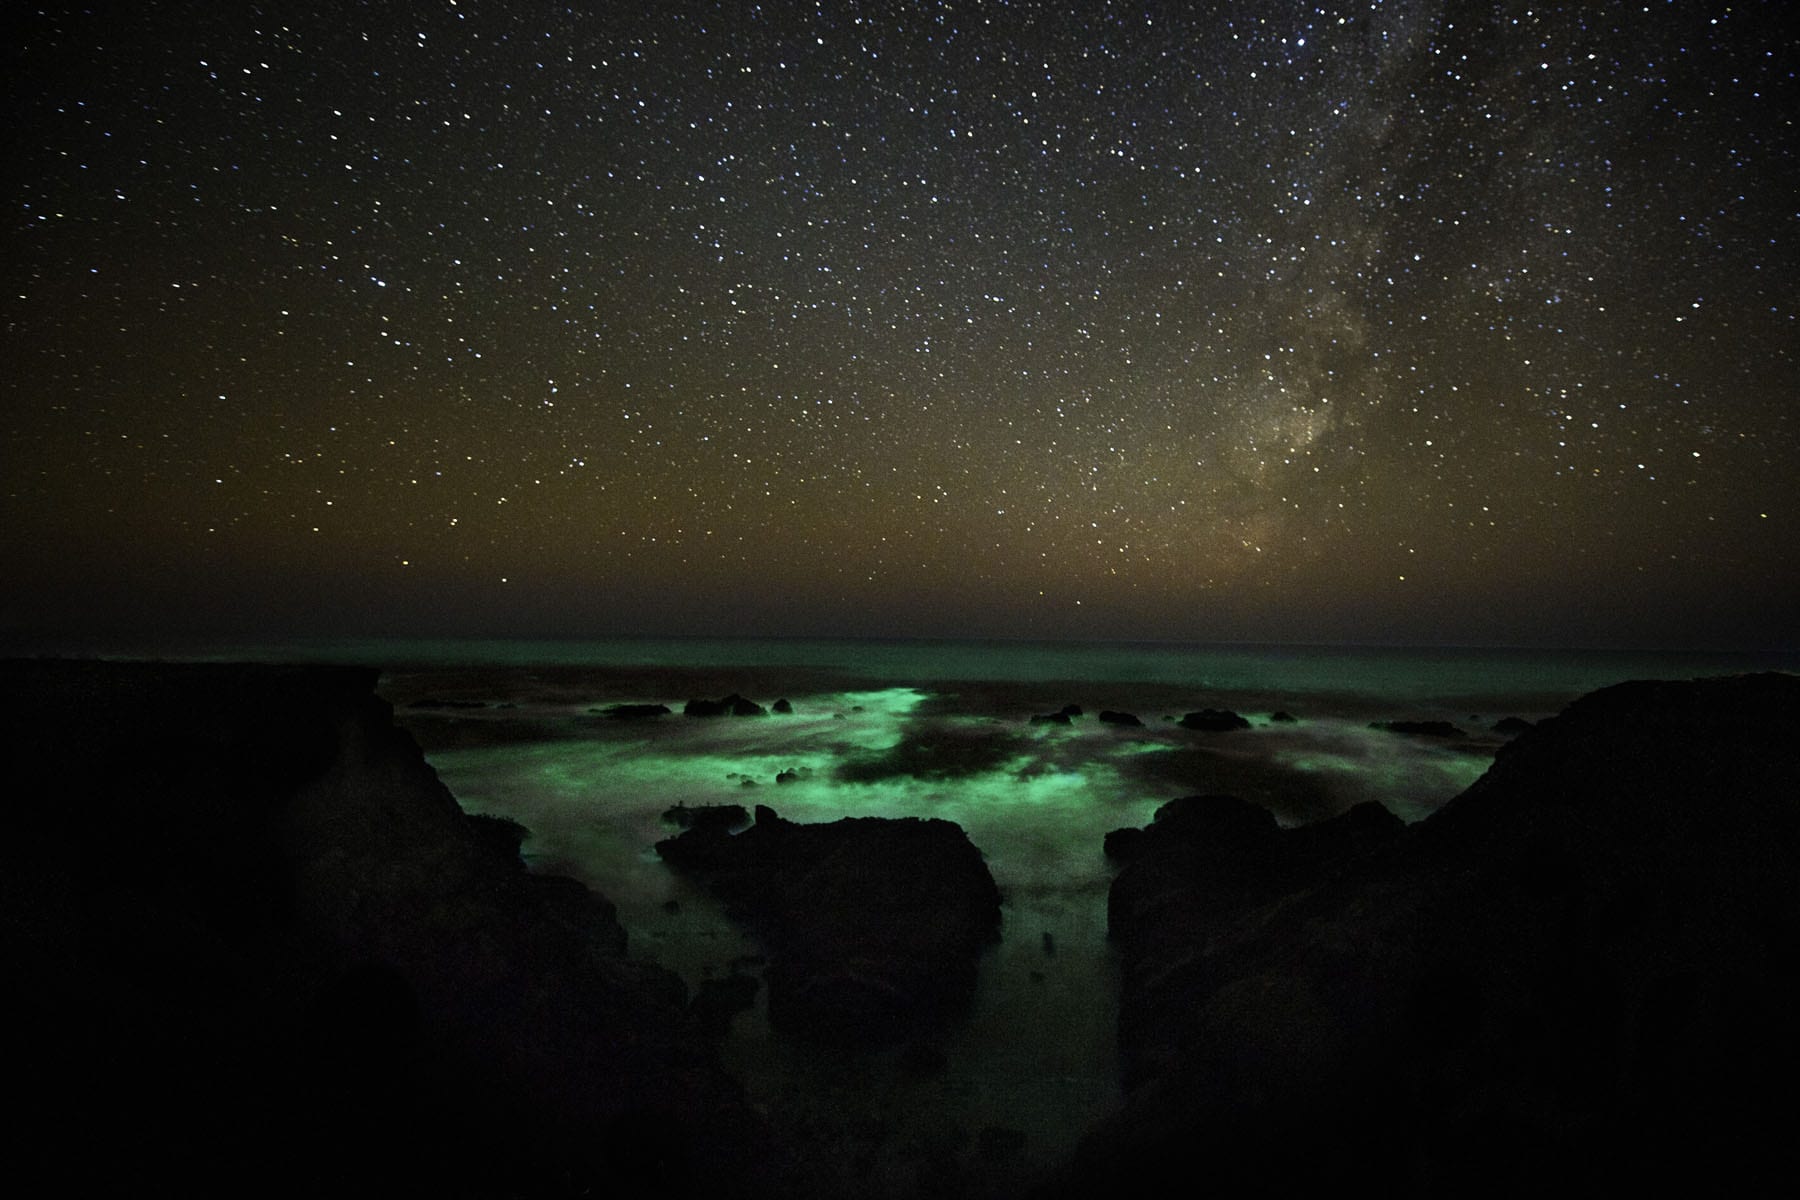
Well there’s more to this story. The interesting bonus to that trip was the bioluminescent plankton. I was wandering out on the bluffs that night and thought I was hallucinating because I was seeing green gas in the air. As my eyes adjusted to the light I saw that I was looking at huge clouds of green vapor. Every time the big waves hit the rocks the plankton would come off the rock in huge green clouds. It was obvious that I needed a long exposure at night, but anything more then 20 seconds you begin to get ellipsoidal star trails. At a relatively low ISO, I was able to capture the green in the water, which was like the color of glow sticks. It was such a clear night that the Milky Way was perfectly exposed. Plus, the next morning I woke up early and took some beautiful sunrise shots of the lighthouse that I was able to trade with them for the price of the lodging.
I brought the work back to Stuart and he really liked it and was very helpful. He reminded me that it is important to slow down and work the scene. If you think you’ve got it then stop and look around and work the scene some more. Even though I got some interesting shots, he encouraged me to go back and do other things, think about variety and getting closer—to explore the scene some more.
So there was another trip?
Getting confluence with the tide along with the late afternoon sun is a challenge. You optimally want about a receding four-foot tide three hours before sunset. (Sunrise is too fast and the light becomes over-bright too quickly.) Sunset allows for much longer shooting times during the alpenglow. These optimal conditions line up about once per month—tide and the light. And, if you’re lucky, the sky isn’t totally clear.
The stars aligned again for me in February 2011. I was prepared with the Wellington boots and plastic pants that time, but was coming down with the flu. The beach was totally empty, with no distractions. The tide was great, the sky was right. It was perfect. I got into the zone that day. Stayed at the lighthouse again and then drove home five and a half hours with the flu after getting up before sunrise to get some more shots.
The resulting photos from the second trip were successful. I won a second-place photo contest through Marin Magazine and a couple in Tiburon decided to decorate their home with six large prints from this series.
What did you do to process your images after these trips?
There was so much going on in-camera with the neutral density filters and then again with some of them using the polarizing filter so that I could shoot the rocks in the water and see below the surface. Because of that, the Photoshop work was mainly minimal tinting and huge amount of dust spot removal. The sensor hadn’t been cleaned in a while. It also could have been caused by sea spray. That was very tedious. I had to remove blobs on the edges of rocks and then rebuild the edges of the rocks. I did some of the fixes in Lightroom and the tough stuff in Photoshop. There’s a little bit of selective color and those layers are blended with gradients here and there but really there wasn’t that much. I did most of my cropping in camera. If the light is right then the post-production work is almost always very easy.
What photographers influence your landscape work?
I have great respect for Michael Kenna, who is a master of nighttime, long exposures and exploring mystery in his images. I also love the portraits of trees from Madagascar and England by Beth Moon. I look at 500px.com regularly and spend time each morning finding new work on the web to be inspired by.

Are you currently planning any outings like Bowling Ball Beach?
My landscape photographic style is about portraying and revealing the mysteries in my world. Around here, weather has a lot to do with that and this narrowing of focus has made landscape work challenging because the recent dry weather hasn’t been in my favor. It’s starting to rain again and I’m planning a series of stills and video time-lapse to be shot in the area of Muir Woods. I use fog and mist to create a mood, and I need water for the waterfalls and the sun hitting damp forests to create evaporation. Ansel Adams used to say, “A great photograph is extensively about the weather.”
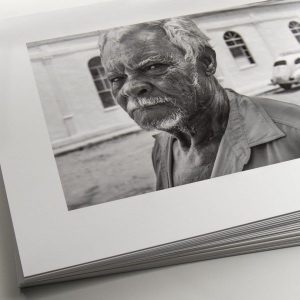
In the meantime, I keep myself busy with other projects—mostly images of people. My next really big project will be a series of diptychs in China this spring, attempting to capture the old and new within the faces of the people there.
Here are things Gary learned from his trips to Bowling Ball Beach:
Check out Gary’s work online at the following locations: